

08 August 2020
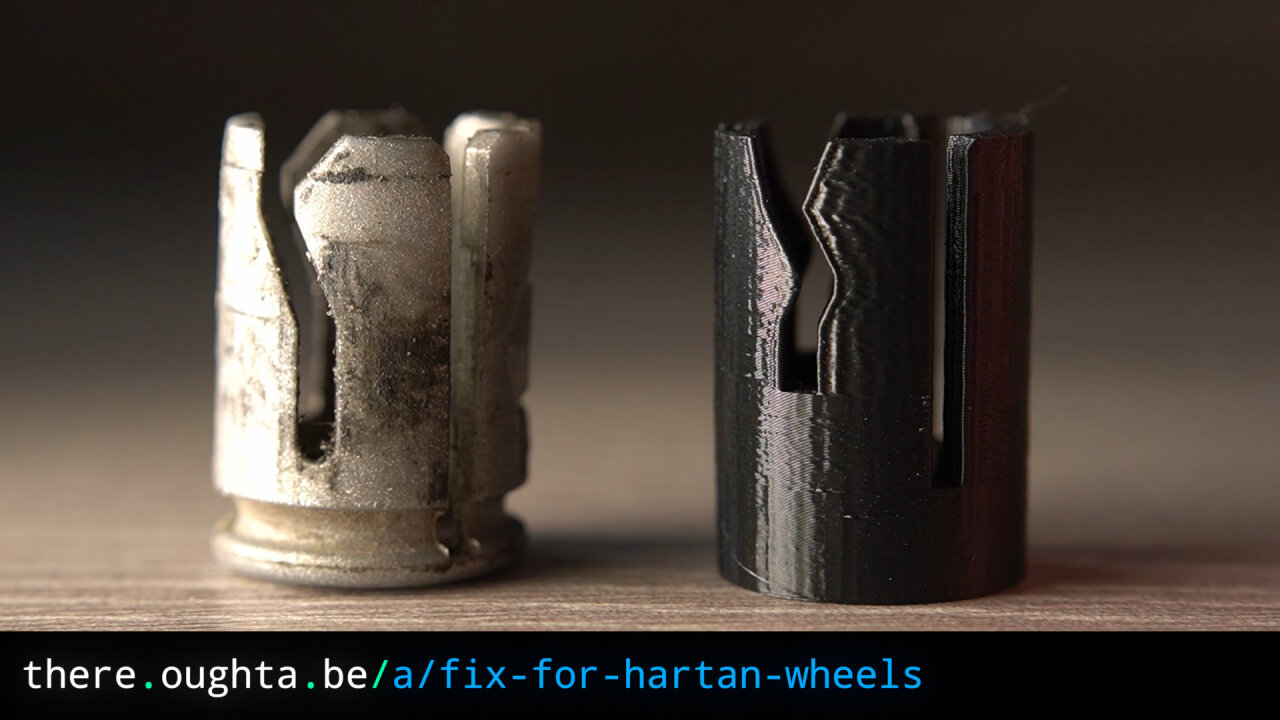
Our “Hartan Racer” baby stroller started to lose its wheels. Turns out that the mechanism that is supposed to allow switching wheels was worn out and a simple 3d printed replacement is the solution.
Since this is mostly about design and less about coding, the accompanying video might actually give you a better idea:
Anyhow, we bought this Hartan Racer second hand and are very happy with it. Until it suddenly missed a wheel. After tracking back, we found it, mounted it and… lost it again. Several times. So, I had to look into it.

It turns out that the inner piece of the wheel is a button. If you press it, it pops out and you can remove the wheel. Unfortunately, this started happening without our intent, so I pulled out one of these “buttons” to examine it.
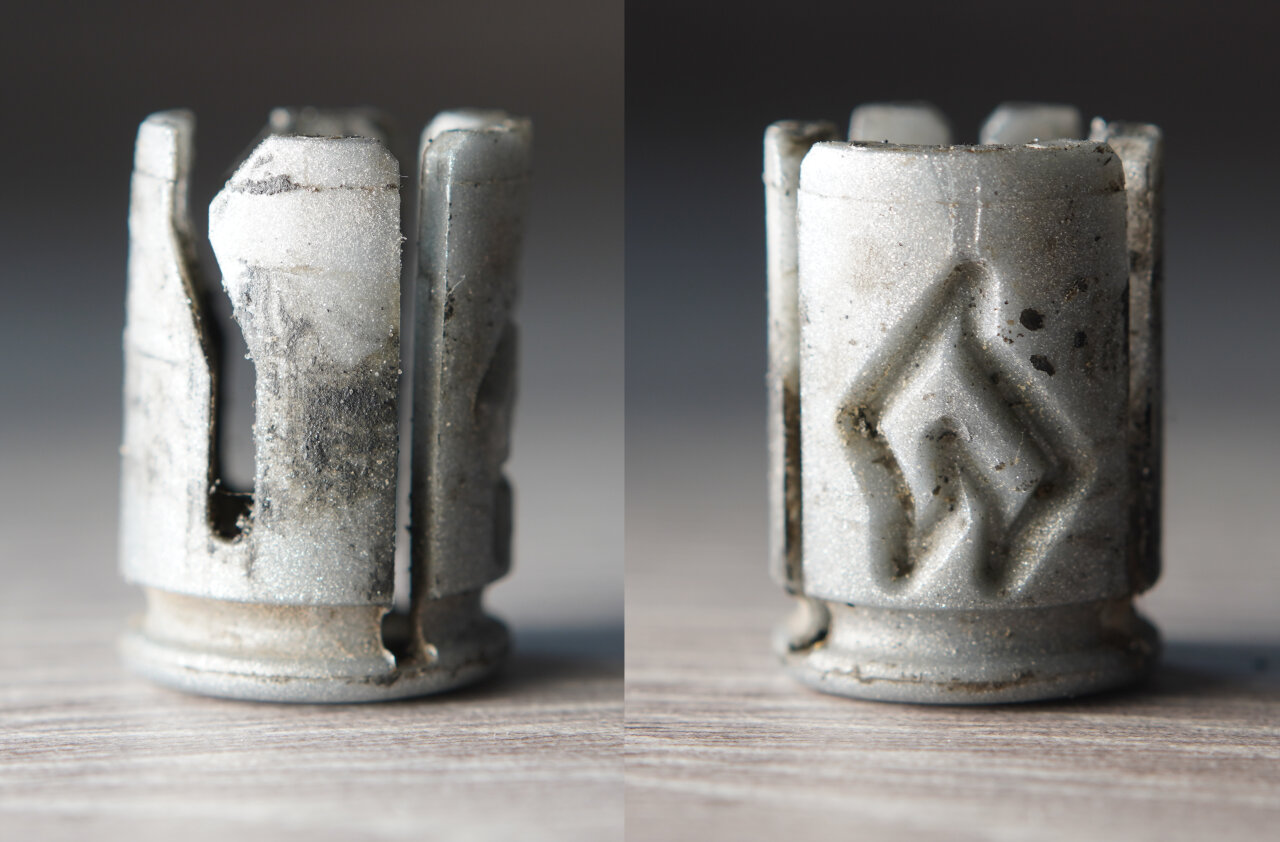
The piece turned out to be more complicated than expected. On one side, there is a pathway or guide that, when pushed in, moves a little metal rod towards the axle and thus holding the wheel in place1. On the other side, there is a “labyrinth” that is a bit less obvious. In the wheel, there is a little metal ball on a spring that travels inside this labyrinth. The button is also on a spring and pushed towards the outside, so you press the button against its spring and the ball travels along the labyrinth with stops in different positions if you release the button. Hard to describe. Anyhow, this part seems to be worn out and it simply does not stay in place anymore. The spring pushes out the button without pressing it and we lose the wheel.
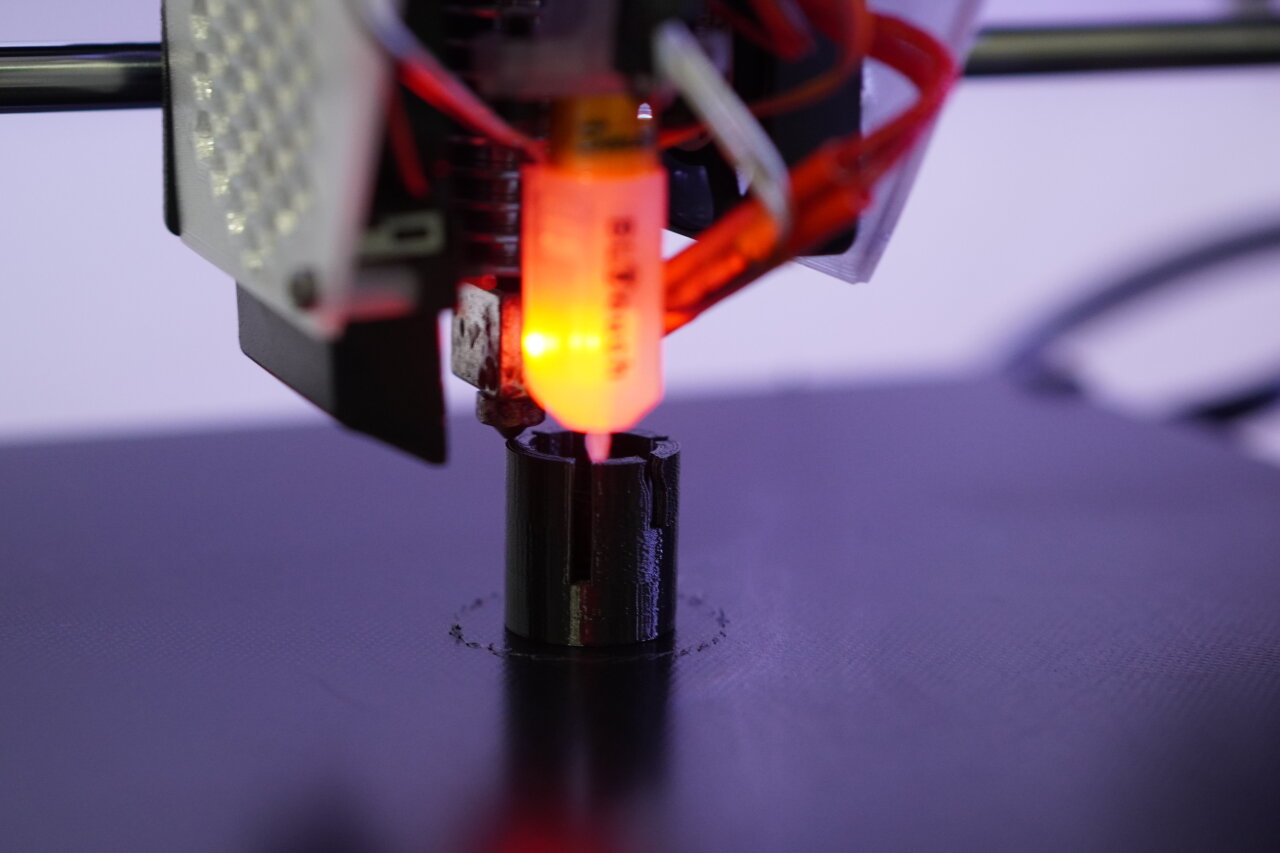
So, I designed a replacement. I did not even expect to reproduce the labyrinth with a 3d printer, but I figured that I do not have to. In fact, we never change the wheels, so I went for a design without the labyrinth. Instead, to hold it in place permanently, I designed the guide for the rod such that it has a slightly tighter pressure towards the axle at some point and then slightly releases if it is pressed in entirely. This means that it will not slide back beyond that point and the wheel is fixed on the axle permanently.
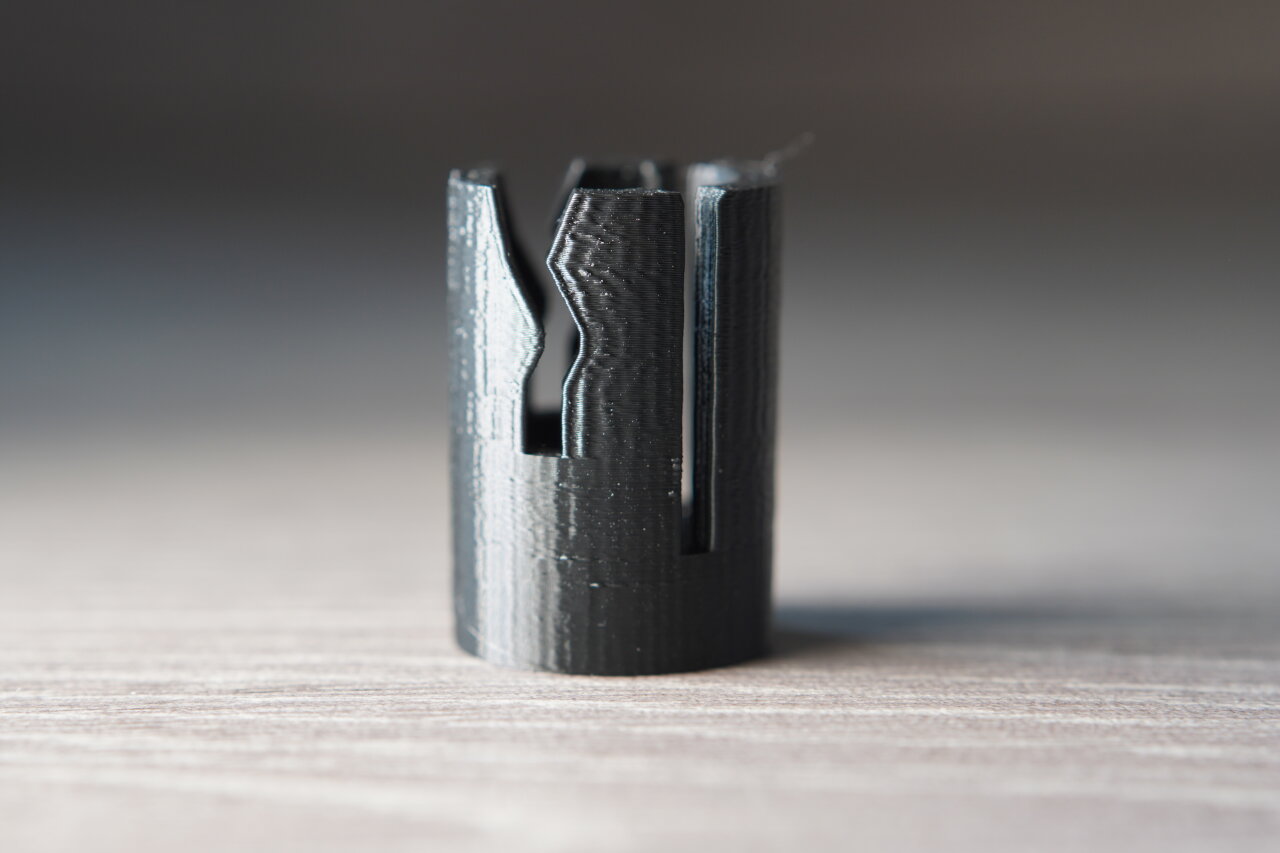
This new 3d printed piece can simply be pushed into the wheel and stays there. You might need a hammer to overcome the tight spot.
If you want to use the fix on your stroller, you can find the design for your 3d printer on thingiverse.com. Just keep in mind that this design will not allow you to simply switch wheels. If you want to remove the wheel, you will have to destroy the 3d printed part2.
There is an animation in the video on youtube.com that should make this a bit clearer. ↩
I would say that a drill would do the job. ↩